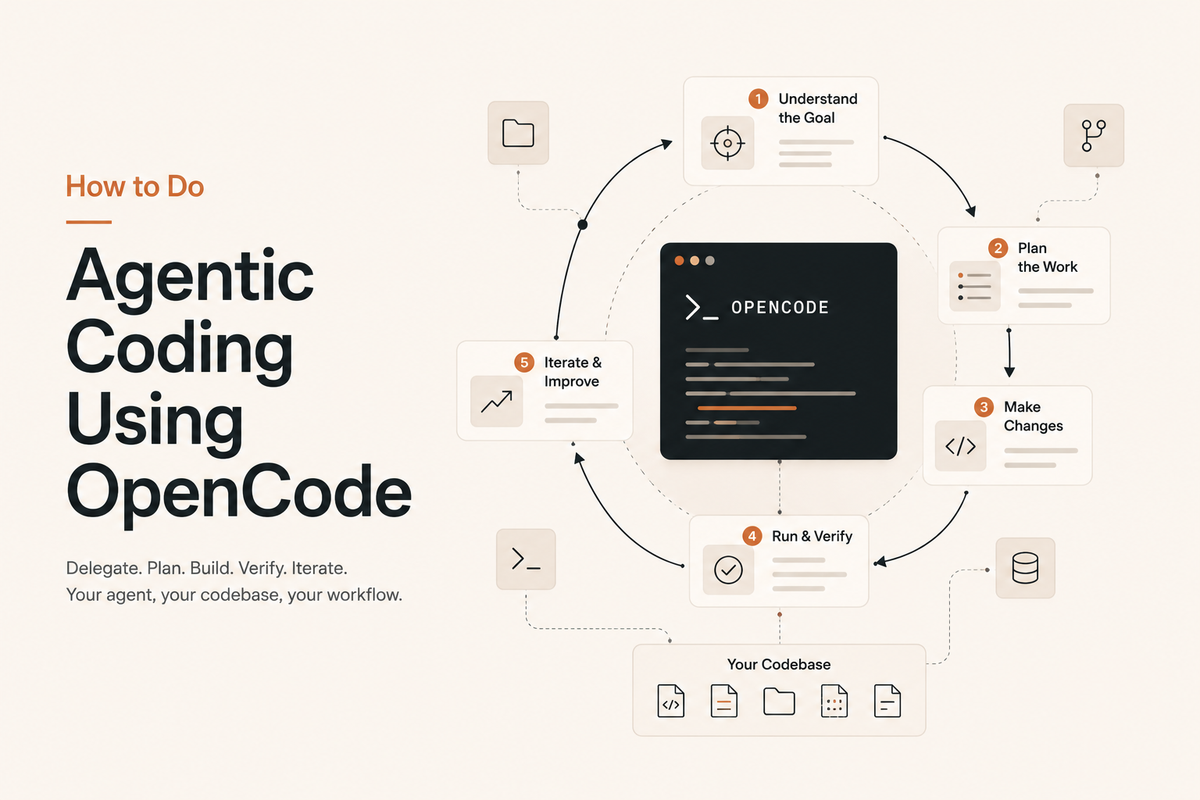
Most people still think of AI coding help as autocomplete with better manners. You type a comment, it suggests a function, you accept or reject. That is assistance, not agentic coding. Agentic coding is when you describe the outcome and the tool reads your files, plans the change, edits code, runs commands, and reports back. OpenCode is one of the better open source tools built for exactly this.
I run it alongside Claude Code on my Mac Mini M4, with LM Studio handling local models for the lighter tasks. Here is how I actually use it, not just what the docs say.
What OpenCode is
OpenCode is an open source, terminal native coding agent. It is model agnostic, so you are not locked into one provider. You can connect Anthropic, OpenAI, Gemini, or a local model running through Ollama or LM Studio, and switch between them depending on the task. It ships as a terminal interface, a VS Code extension, and a web UI, but the terminal is where most people live.
The core idea is simple. OpenCode is the harness, the model is the brain. The harness handles file reading, editing, running shell commands, and feeding results back to the model so it can decide the next step. Swap the model, keep the harness.
Useful links
- Docs: opencode.ai/docs
- CLI reference: opencode.ai/docs/cli
- Providers reference: opencode.ai/docs/providers
- GitHub repo: github.com/anomalyco/opencode
- OpenRouter integration guide: openrouter.ai/docs/cookbook/coding-agents/opencode-integration
- OpenRouter model catalog: openrouter.ai/models
- OpenRouter API keys page: openrouter.ai/keys
Keep these bookmarked. OpenCode changes fast, and the docs are the one place that stays current when a blog post like this one does not.
Installing it
Pick whichever matches your setup. All of these end with the same opencode command available globally.
# Install script, works on macOS and Linux
curl -fsSL https://opencode.ai/install | bash

# npm, or swap in bun, pnpm, yarn
npm i -g opencode-ai@latest

# Homebrew, macOS and Linux, always up to date
brew install anomalyco/tap/opencode

# Homebrew, official formula, updated less often
brew install opencode

# Arch Linux
sudo pacman -S opencode

# Arch Linux, latest from AUR
paru -S opencode-bin

# Any OS, through mise
mise use -g opencode

# Windows, scoop
scoop install opencode

# Windows, chocolatey
choco install opencode
On Windows, use WSL if you can. The docs recommend it for better performance and full feature compatibility, and native Windows support through Bun is still catching up.
Verify the install with opencode --version. If the command is not found after a script install, the binary directory probably is not on your PATH yet. Add it and reload your shell.
echo 'export PATH="$HOME/.opencode/bin:$PATH"' >> ~/.zshrc
source ~/.zshrc
Bash users, do the same to ~/.bashrc instead.
Once installed, you need API keys for whichever providers you plan to use. If you are just getting started and do not want to manage keys yet, OpenCode Zen gives you a small set of pre tested models to begin with.
One thing worth knowing if you already use Claude elsewhere. OpenCode removed direct Claude Pro or Max login after a dispute with Anthropic earlier this year. Claude still works fine inside OpenCode, but only through a raw Anthropic API key now, not through your subscription login. If you are coming from Claude Code and expect the same login flow, this catches people off guard.
Setting up AGENTS.md
The first real step inside any project is letting OpenCode understand your codebase. Run it in your project folder and ask it to generate an AGENTS.md file. This file captures your project structure and coding patterns, and every future session reads it automatically.
Commit this file to Git. It is not a personal preference file, it is project documentation that helps the agent behave consistently whether you or a teammate is running it. Think of it as the equivalent of onboarding notes, except the person being onboarded is the AI, every single session.
Build mode versus Plan mode
This is the distinction that matters most for actually trusting the tool.
Build mode is the default. Full read and write access, the agent edits files and runs commands directly. Use this once you know what you want done.
Plan mode is read only. The agent analyses your code and proposes a plan without touching anything. Switch to it with the Tab key. For anything non trivial, I start here. Read the plan, correct the parts that are wrong, then switch to build mode once the approach looks right.
Skipping plan mode on a task you do not fully understand yourself is how you end up debugging the agent's mistakes instead of your own.
Working with local models
This is where OpenCode earns its place next to Claude Code rather than replacing it. Not every task needs a frontier model. Renaming variables, writing boilerplate tests, or summarising a file does not need the most expensive model available.
I route these lighter tasks to a local model through LM Studio on the Mac Mini, and reserve the paid API calls for the parts of the work that actually need strong reasoning, like architectural decisions or tricky bug fixes. You configure this in the OpenCode config file by pointing an agent at your local endpoint.
json
{
  "agents": {
    "coder": {
      "model": "local.qwen2.5-coder@q8_0"
    }
  }
}
The saving is not dramatic on a single task. Across a full week of coding sessions, it adds up, and it also means you are not sending every routine file summary to a cloud provider.
Sessions and context
OpenCode supports multiple concurrent sessions, each with its own history stored in SQLite. Switch between them with /session. I keep a debugging session and a feature session running side by side without either one losing its own context. When a session approaches the model's context limit, OpenCode compacts it automatically by summarising earlier turns, so you rarely have to think about this yourself.
Custom commands
If you find yourself typing the same instruction repeatedly, turn it into a custom command. Create a markdown file under your commands directory, and the filename becomes the command.
A file named prime-context.md becomes the command user:prime-context. You can use named placeholders like $ISSUE_NUMBER inside the file, and OpenCode will prompt you for the value when you run it. This is the same instinct as a style guide sitting in a Claude project knowledge base. Repetition is a signal that something should be saved once, not retyped every time.
Connecting OpenCode to OpenRouter for pay as you go
If you do not want separate subscriptions and separate API keys for every model provider, OpenRouter is the simpler option. One account, one key, pay per token, and access to models from Anthropic, OpenAI, Google, Meta, DeepSeek, and others through a single endpoint. Switching models later is a config change, not a new signup.
Here is the full setup.
Step 1: Create an OpenRouter account and key. Go to openrouter.ai, sign up, and add credits. Pay as you go means you fund a balance and pay only for what you use, no monthly commitment. Generate a key from openrouter.ai/keys. It will start with sk-or-.
Step 2: Connect it inside OpenCode. Launch OpenCode and run the connect command.
/connectSearch for OpenRouter in the provider list and paste your key when prompted. This stores the credential in ~/.local/share/opencode/auth.json automatically, so you do not need to touch that file by hand unless you want to.
If you prefer doing it directly without the interactive prompt, you can edit that file yourself.
json
{
  "openrouter": {
    "type": "api",
    "key": "sk-or-your-key-here"
  }
}
Step 3: Pick a model. Run the models command inside OpenCode.
/modelsMost popular OpenRouter models are preloaded and will show up directly. Pick one using the provider slash model format, for example anthropic/claude-sonnet-latest or google/gemini-2.5-pro. You can check the exact slug for any model on openrouter.ai/models before selecting it, since a mismatched ID is the most common reason a connection fails to find a model.
Step 4: Optional, control provider routing. OpenRouter can route a single model request through more than one upstream provider. If you want to pin it to a specific one, or allow automatic fallback when a provider is rate limited, set this in your OpenCode config file.
json
{
  "$schema": "https://opencode.ai/config.json",
  "provider": {
    "openrouter": {
      "models": {
        "anthropic/claude-sonnet-latest": {
          "options": {
            "provider": {
              "order": ["anthropic"],
              "allow_fallbacks": true
            }
          }
        }
      }
    }
  }
}
This is useful if you care about consistent latency from one specific upstream rather than whichever provider OpenRouter picks by default.
Step 5: Confirm it is working. Send a small test prompt after switching models. If you get an auth error, recheck the key at openrouter.ai/keys. If you get a model not found error, recheck the exact slug on the model catalog page. Both are configuration mismatches, not actual account problems, so they are quick to fix once you know where to look.
One thing worth knowing before you route everything through it. OpenRouter does not log your source code prompts by default, but check their privacy policy if you plan to send anything sensitive through it regularly.
MCP and extending what the agent can reach
OpenCode supports Model Context Protocol servers, which means you can connect it to external tools and data sources beyond your local files. Add a server with opencode mcp add, and it walks you through local or remote setup. This is useful once your workflow needs the agent to reach outside the repository, for example pulling in documentation or querying an external service.
Best practices
Start every non trivial task in Plan mode. Skipping straight to build mode on anything complex is the single most common way people get burned by agentic tools in general, not just this one. Read the plan before you approve it, do not just skim and hit yes.
Write a real AGENTS.md, not a generated placeholder. A well written project file with clear conventions gets you further than switching to a fancier model on a vague one. Update it when your conventions change, an outdated project file misleads the agent the same way an outdated document misleads a person.
Match the model to the task, not the other way round. Renaming variables or writing a routine test does not need your most expensive model. Save the strong reasoning models for architecture decisions and genuinely tricky bugs.
Pin one model instead of trusting auto routing blindly, at least while you are still learning how a tool behaves. Auto selection is convenient once you already know which model handles your codebase well. Before that, you are debugging two unknowns at once, the model and the task.
Keep secrets out of your shell history. Store provider keys through /connect or in auth.json rather than pasting raw keys into commands that end up logged in your terminal history.
Review the permission model before letting any agent run unattended. Know what it can execute, what it can edit, and what requires your confirmation, before you hand it a real task.
Commit often when the agent is doing the editing. Every meaningful change should be a reviewable diff, not a large unreviewed batch of edits you take on faith.
The takeaway
OpenCode is not trying to be the flashiest agent out there. It is trying to be the most flexible one, and for a workflow where you already mix local and cloud models, that flexibility is the whole point. Start with Plan mode, keep AGENTS.md current, and route tasks to the model that actually fits the job instead of defaulting to the biggest one every time.